
Tips and tricks for all things Reviews
Reviews are an integral part of the CD program. All of your long nights and hard work is leading up to this one-day event at the end of the semester. But don’t sweat it! We will break it all down and share what we have learned over the years.
So what are Reviews?
Reviews are essentially this program’s “finals.” Whereas other more traditional programs have final exams, tests, and papers, at art school it’s a little different.
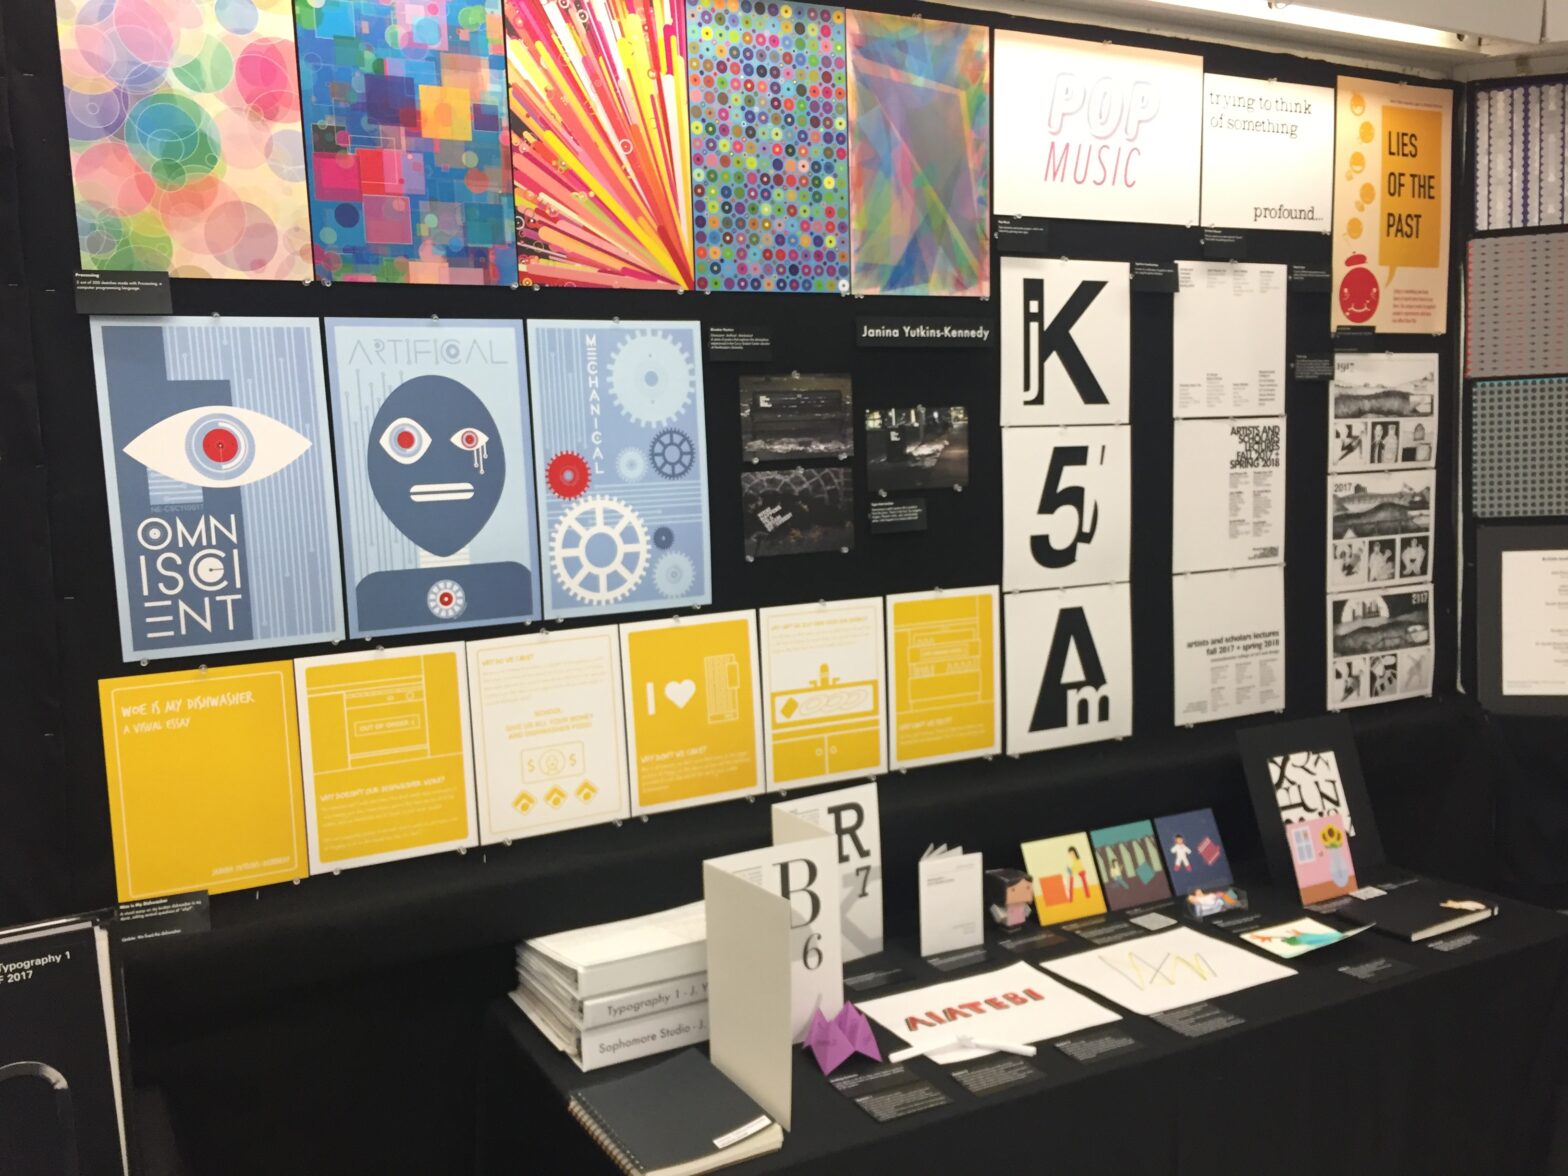
At the end of each semester, everyone will gather all the projects and work they’ve completed and display it before a panel of faculty and guest reviewers for critique. Everyone’s reviews take place on the 6th floor of Tower and you will be assigned a space and room to set up your work. Each year is different so let’s break that down.


Sophomore Year
As a sophomore, this is your first year of reviews, woohoo! You may be confused or unsure how to prepare, but don’t fret, we got you.
Like we said earlier, reviews are basically an end of the semester final where you get to showcase all the work you’ve done in your classes. As a sophomore it is low pressure because all you need to do is set up your space and leave. The professors will gather in several groups and go around looking and critiquing work on a piece of paper.
About a week before reviews
At the end of the semester, faculty will post outside the 6th floor main office a chart that has students’ names and their assigned location. The whole floor is utilized and taken over for the few days reviews take place.
Write down your spot number or take a picture, and find your location on the floor. Scope out the area and get friendly with those who share the same room or hallway with you.

How do I set up my space?
The 6th floor will open to be set up typically at 6pm after most classes are done for the day. You will have from 6pm until 8am the next morning to set up your space and clear the floor. People start setting up their space at different times, depending how finished their projects are.
Hot tip: you can try to coordinate with the Junior who will be using your space after yours. You can set up the space and they can take it down.
There are a couple things you will need get for your review day. You will be provided with a table to put your work on, but these things you will have to find on your own:
Black felt or a black sheet (around 16 yards of fabric). This will be used as backdrop for the wall you’ll use to hang some of your projects on, along as a table cloth. You can find black fabric at Joann Fabrics, Blick, and Amazon. You could also buy or borrow some off of an upperclassmen!
Clear push pins are a necessity to hanging up your projects on the wall. They are great because since they are clear, they are less noticeable and the focus will be on the work.
A staple gun will be useful to hanging up your black fabric. You can pick one up at Home Depot for cheap, or more often than not, someone else will have one on the floor. Just ask nicely to borrow it! Also a stapler remover will help with quick clean up.
Lint rollers will be your hero in disguise. Since all the fabric is black, dust and gunk accumulates quickly. So right before you call it a night, take a quick swipe with a lint roller so your work will look pristine and cared for.
Bristol paper and black matboard is a must. Bristol is used to mount your projects that need some backing, so when they are hanging on the wall, nothing is floppy or creased. The matboard is used to make your name plate and project labels. Since you aren’t presenting your work yet, having a project title and label for your projects provide great context for your reviewers. Treat it like a museum label!
You can get both at Blick, the MassArt school store, or the Restore may have some. For matboard, look for board around 1/16 inch thick. You don’t want your board too thick or else it will be really hard to cut.
A glue gun is great to quickly adhere your pushpins to any project or plate you may need to put on the wall.
I have all my supplies, now what?
Great, now that you have everything, get ready to set your space up. You only have a limited amount of space to display all your projects. Some people find it helpful to pre-plan their space on the computer, so when it comes to hanging stuff up, you won’t have to rearrange a bunch of times.
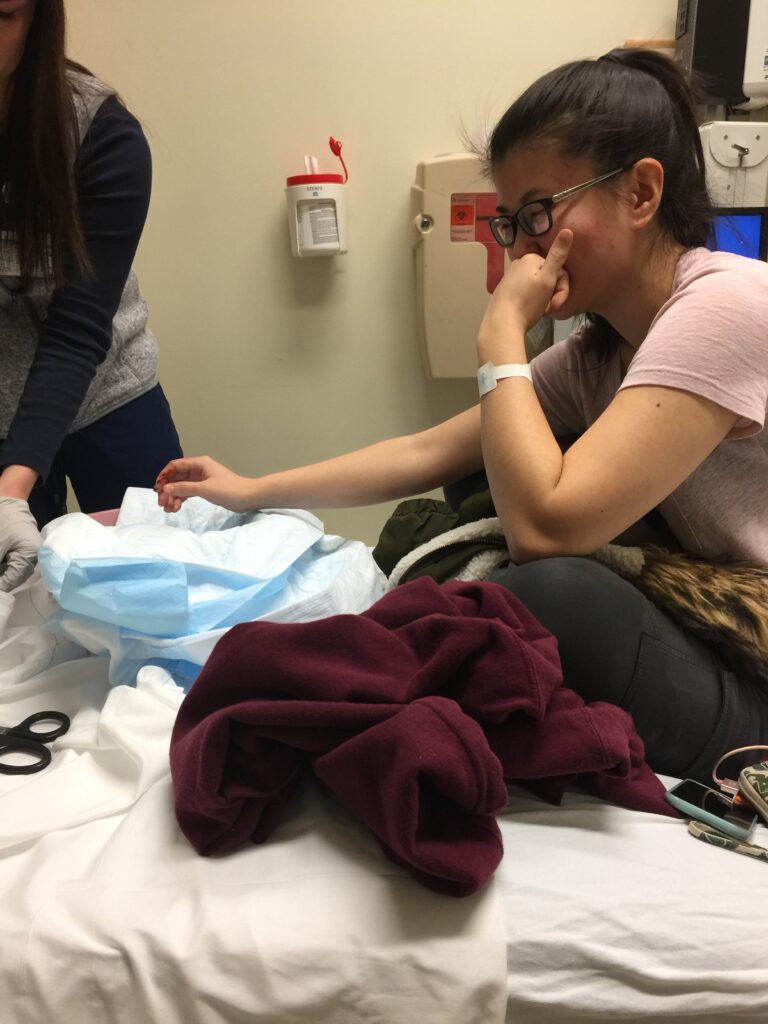
Prepping your projects can take a while, but take your time! If you are cutting paper and mounting projects, make sure you have adequate sleep or are well caffeinated. We don’t want any late night hospital visits.
Don’t forget your process binder!
One of the biggest takeaways you will learn Sophomore year is to document your process! The way you concept and iterate is so important for the design process that you will need a dedicated binder for it. Faculty will want to see how to got to your final deliverable, so keep all your sketches, notes, inspiration, etc. Get a fat 3 inch binder and bunch of page protecters so you can quickly organize everything.
If you don’t have a process binder, you will be called out.
Day of reviews
With your work all set up, you are almost good to go! Since your are a Sophomore, you won’t have to physically present your work. What you will do before you leave your work to the reviewers is fill out a form that will be floating around the 6th floor. It’s just a couple quick questions revolving around what you liked working on this semester, what you thought was challenging, etc.
The form is also for the reviewers to fill out and provide feedback. You can pick up this form in the afternoon after all the reviewers have finished up. During that time you will be able to return to your room and pack up your space. You need to clean up before the end of the day, since the Juniors need to set up their space.
Hot tip: if you stick around, sometimes there’s pizza as a congrats for the great semester!

Junior Year
You’re now a seasoned reviewee in the CD department, congrats! As a Junior now, your reviews are mostly the same as sophomore year. Except this biggie – you will be presenting your work to faculty this time around.
Your set up will be the same and everything you will need to put on the table will be the same. But instead of leaving your work to hold up on its own, this time you will be assigned a time to be in your room.
How is this set up?
You will have 30 minutes total to get through your work and for feedback. It’s usually split up with 20 minutes to present and 10 minutes for any and all feedback from your review panel.
There typically be three reviewers to each panel. The department tries to arrange the reviewers so you will present to someone who you didn’t have class with. They won’t know your work or how you got to your final deliverable, so it’s important to explain your projects throughly, but also in a timely manner.
Tips for presenting
Presenting your work is scary and intimidating, especially when it feels like such high stakes. Unfortunately, we don’t have a cure to anxiety (even though that would take 99.99% of the stress away from our lives) but we do have some tips to help you get through it!
Don’t point out the mistakes! Never point out the things you think are wrong with your project. It doesn’t reflect great, and reviewers don’t want to hear what you wish you would have done or what you wish it would have looked liked. They want to hear how you problem solved and how you overcame a challenge. If there are visible mistakes, let the reviewers find it out for themselves—half the time they won’t notice. Confidence sells.
Flash cards are okay. It’s okay to have some notes with you, especially since this is the first time you will be presenting in front of a panel. Jot down some important points you want to talk about and bring them with you! You’d want to be over-prepared than underprepared.
Dress the part. This is almost like an interview, so make sure you’re well put together before you present. You don’t have to go full-on tux and ballgown, just wear something that you’d wear to an interview or networking event.


Senior Year
Senior year is a big year. You’re almost done! By now, you should know all the ins and outs of reviews.
What’s different this year
Similar to Junior year, you will be presenting your work to a panel of people. However, this year, along with faculty, you will have guest reviewers from the industry!
Hot tip: like always, try to make a good impression. Your guest reviewer could be the door to your next job opportunity!
What’s also different this year is that rather than set up a space where reviews go to you, you go to the reviewers. It’s suppose to be set up like an interview. There will be a panel of people sitting in a room behind a table. At your assigned time, you will walk into the room with all your projects. And then one-by-one, you’ll go through and present each project.
It’s really important that you prepare how you are going to present your projects. Figure out in what order you want to present and how much time you want to spend on each project. It’s senior year, so you will have a good amount a projects to go through in not a lot of time. Practicing is so important for this one.
Hot tip: don’t keep your projects in some random cardboard box, dress it up a little.
By the end of senior year, you should be the master of presenting and explaining your work. You will gain the presenting and public speaking skills that will only help you progress in your career.
Your final reviews is also wrapping up your time spent at MassArt. It’s a bittersweet ending. Be proud of your work and what you have accomplished, and don’t forget to celebrate with your classmates. You all deserve it.
