Professor Tatiana’s “Let’s RISO” Zine now online
Developed in 1980 in Japan, the Risograph has been a popular printer for its bright colors and “screen print” look. Luckily for us, we have one on the third floor!
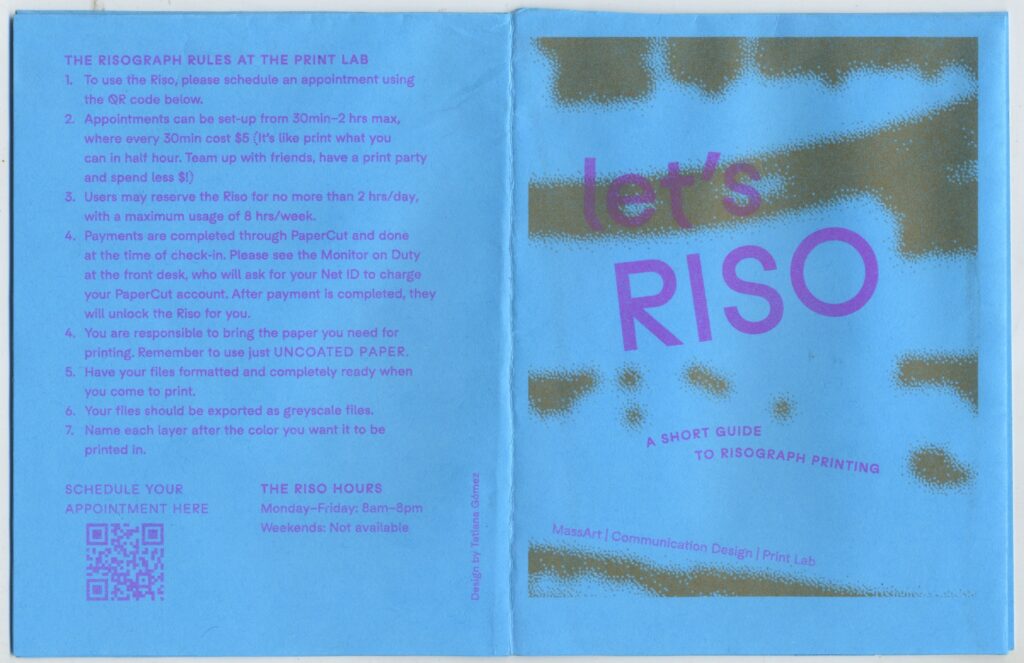
A Detailed Guide For Printing
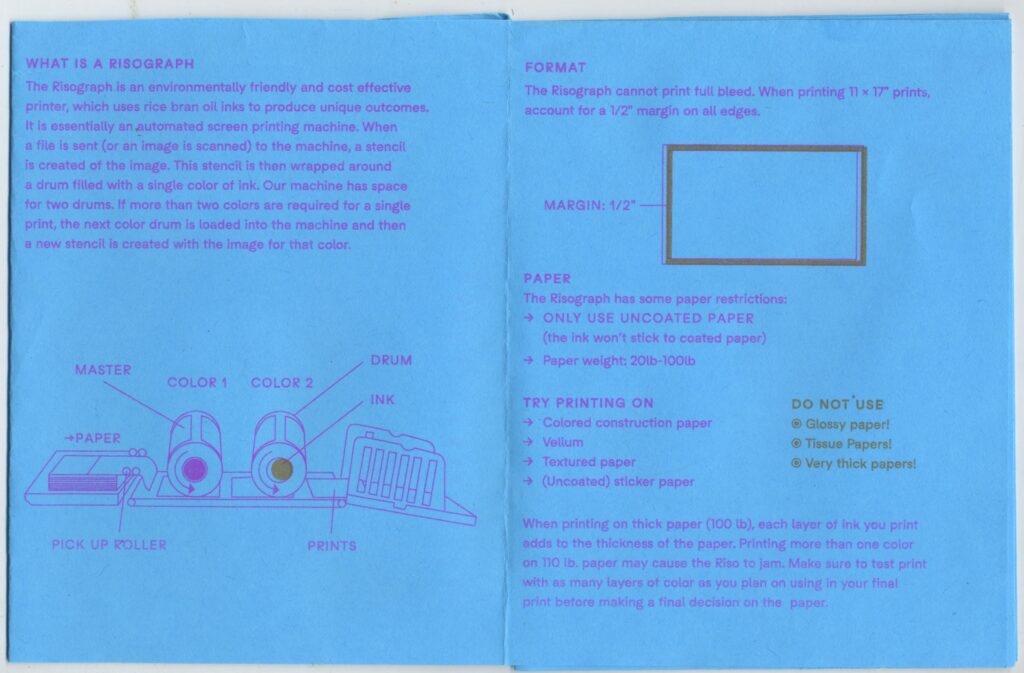
What is a Risograph?
Essentially, the risograph is like digital screen printing. It takes an image, creates a stencil, and is printed with one color at a time.
RISO Rules!
- To print on the risograph, you must set up an appointment (30 min – 2 hrs max, $5 charged every 30 minutes to your Papercut). Payments are done at the time of check-in with the monitor. They will unlock the riso once they have received your Net ID to charge you.
- You may reserve the Riso for no more than 2 hrs/ day and a maximum usage of 8 hrs/ week.
- You are responsible to bring the paper (uncoated) you need for printing.
- Have your files completely ready, in greyscale, and named after the color you want each file printed in.
Specs!
- Uncoated 20-100 lb paper
- Try vellum, colored or textured paper, uncoated sticker paper.
- The risograph cannot print full bleed so when printing on 11×17, account for ½” margin on all edges.
- When printing on thick paper like 100 lb or more, each layer of ink you print adds to the thickness of the paper. Printing more than one color on 110lb paper may cause the riso to jam. Make sure to test print with as many layers of color as you plan on using in your final print before making a final decision on the paper.
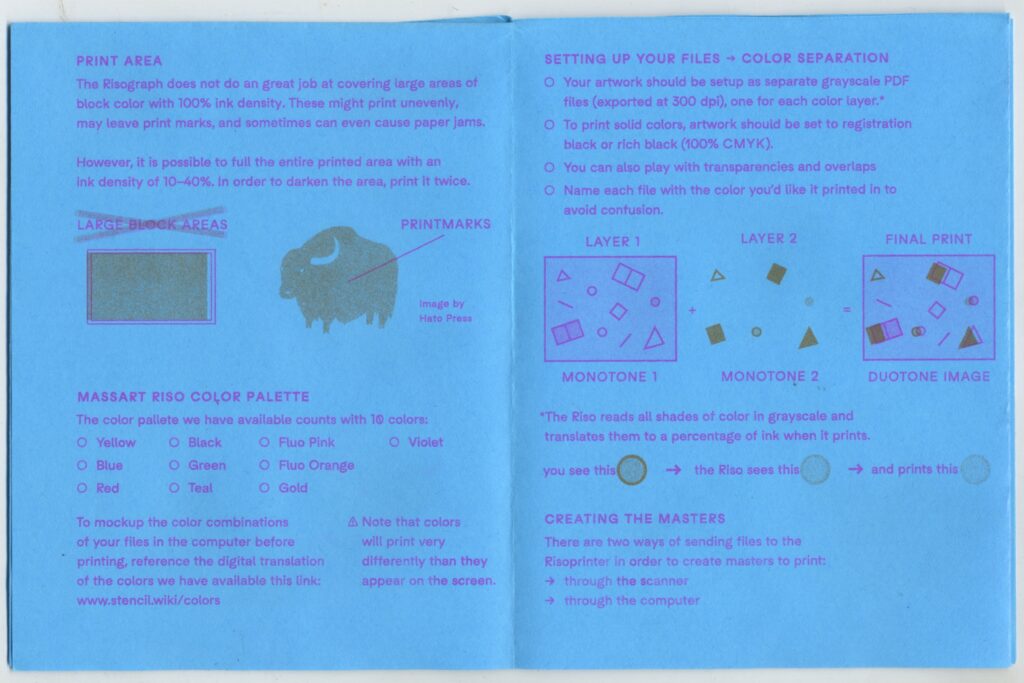
- Available colors: yellow, blue, red, black, green, teal, fluo pink, fluo orange, gold, violet
- To mockup color combos of your files in the computer before printing, reference the digital translation of the colors we have available at this link: www.stencil.wiki/colors
Printing Area
The Risograph does not do a great job covering large areas of color with 100% ink density. It might print unevenly, leave print marks, and sometimes cause paper jams. In order to darken the area, print it twice.
Setting Up Your Files + Color Separation
- Your artwork should be set up as separate grayscale pdf files (exported at 300 dpi), one for each color layer. The riso reads all shades of color in grayscale and translates them to a percentage of ink when it prints
- To print solids, your artwork should be set to registration black or rich black (100% CMYK). You can play with transparencies and overlaps.
- Name each file with color you’d like it printed to avoid confusion.
Creating Masters
There are two ways of sending files to the riso: through the scanner or through the computer next to the riso.
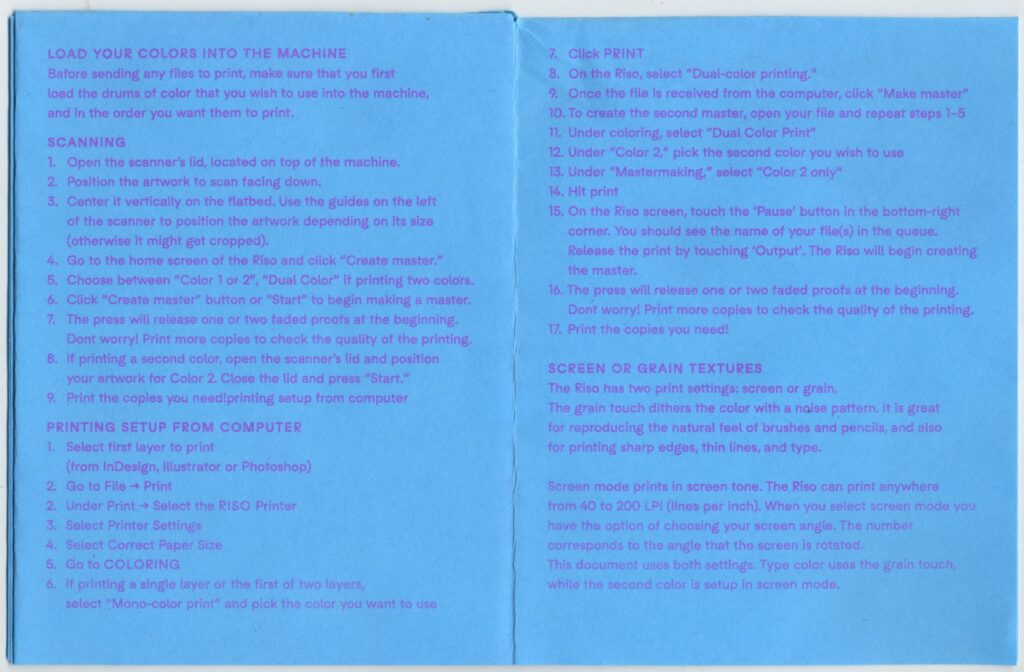
Load Your Colors Into The Machine FIRST!
Before sending any files to print, make sure you load the drums of color you want to use and in the order you want them to print.
Scanning
- Open the scanner’s lid, located on top of the machine.
- Position the artwork to scan facing down.
- Center it vertically on the flatbed and use the guides on the left of the scanner to position the artwork depending on its size (otherwise it might get cropped).
- Go to the home screen of the riso and click “create master”.
- Choose between “color 1 or 2”, “dual color” if printing two colors.
- Click the “create master” button or “start” to begin making a master.
- The press will release one or two faded proofs at the beginning. Do not worry, print more copies to check the quality of the printing.
- If printing a second color, open the scanner’s lid and position your artwork for color 2. close the lid and press “start”.
- Print the copies you need!
Printing Setup From The Computer
- Select the first layer to print (from Indesign, Illustrator, or Photoshop).
- Go to file > print.
- Under print > select the riso printer.
- Select printer settings.
- Select the correct paper size.
- Go to COLORING.
- If printing a single layer or the first two layers, select “mono-color print” and pick the color you want to use.
- Click “print”.
- On the riso select “dual-color printing”.
- Once the file is received from the computer, click “make master”.
- To create a second master, open your file and repeat steps 1-5.
- Under coloring, select “dual color print”.
- Under “color 2”, pick the second color you wish to use.
- Under “master making”, select “color 2 only”.
- Hit print.
- On the riso screen, touch the “pause” button in the bottom-right corner. You should see the name of your files in the queue. Release the print by touching “output”. The riso will begin creating the master.
- The press will release one or two faded proofs at the beginning. don’t worry, print more copies to check the quality of the printing.
- Print the copies you need!
Screen or Grain Textures
The riso has two print settings: screen or grain.
- Grain touched dithers the color with a noise pattern. it is great for reproducing the natural feels of brushes and pencils, and also for printing sharp edges, thin lines and type.
- Screen mode prints in screen tone. The riso can print anywhere from 40-200 LPI (lines per inch). When you select screen mode you have the option of choosing your screen angle. the number corresponds to the angle that the screen is rotated.
Zine
Below is the scanned zine made by our amazing professor Tatiana Gómez G.!